ATTACH THE SPEAKER
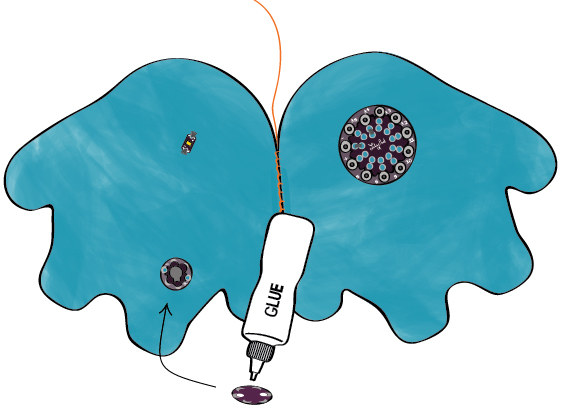
Remove the LilyPad Arduino SimpleSnap from your Protoboard. Glue your speaker onto your monster. Remember not to fill its holes with glue.
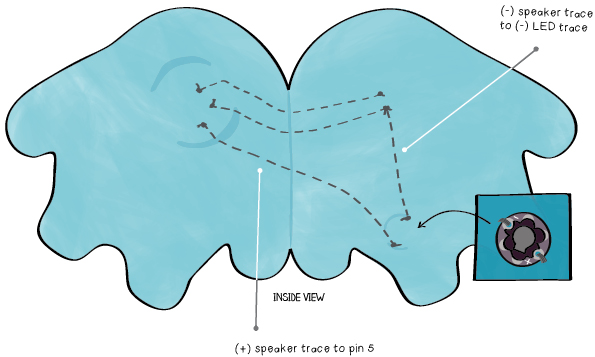
Using your chalk or pencil, draw the electrical connections between the speaker and Protoboard. Again, draw these connections where you will be able to follow them with your stitching.
Sew the traces for your speaker. Stitch the (-) tab of the speaker to the (-) tab of the LED or anywhere along the (-) trace you’ve already sewn. Stitch the (+) tab of the speaker to the appropriate pin on the Protoboard. Here, the (+) side of the speaker is attached to pin 5.