MAKE A KEY
PREPARE THE PIANO BASE
Trace your piano’s shape onto your base fabric, and cut it out to create the base.
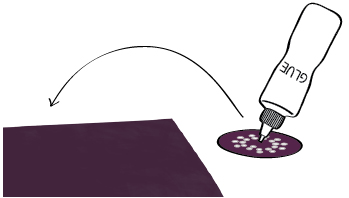
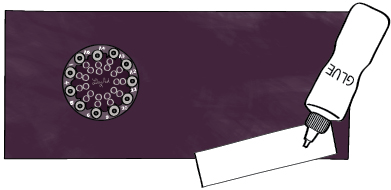
GLUE ON THE LILYPAD PROTOBOARD
Glue the LilyPad Protoboard onto the fabric.
CREATE A PIANO KEY
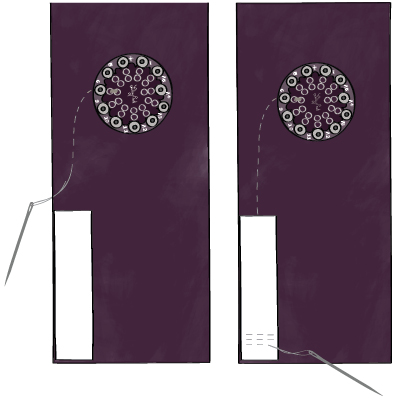
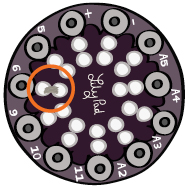
Now you’re ready to build your first piano key. Start with the far left key on your piano. In the design here, it is the key attached to pin 6.
First, create the decorations for the key you’ve designed (minus its conductive thread) and sew or glue these to your base fabric.
TRACE OUT YOUR CONNECTIONS
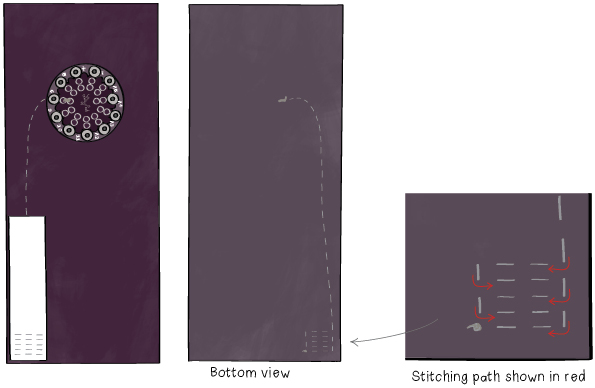
Using chalk or a pencil, draw out the traces for your keys/sensors.
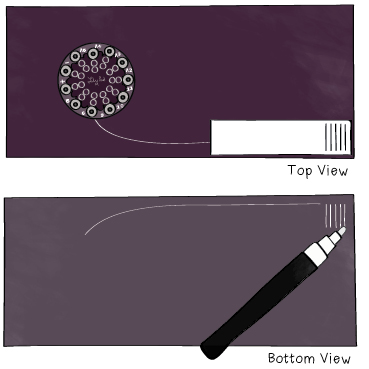
Identify the pin on your LilyPad protoboard that corresponds to your first key—pin 6 for the design here. Thread your needle with conductive thread. Tie a knot on the back of your fabric and make at least 3 loops through the appropriate pin holes on the Protoboard.
Stitch away from the protoboard to your key, following the path that you traced. Sew out any conductive key decorations you’ve designed. When you’ve finished your key, tie a knot on the back of your base fabric, trim its tails to ¼” (6mm) and seal them with a dab of glue.