ATTACH YOUR SPEAKER
Now you’re going to use your key presses to generate sound. The first step in that process is attaching your speaker.
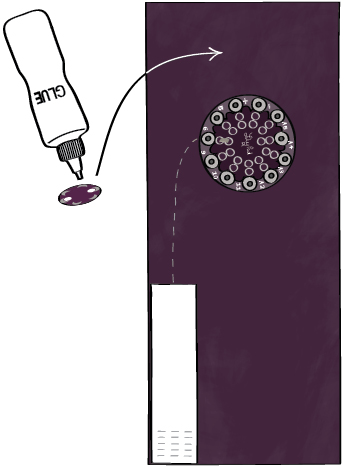
SEW THE SPEAKER TO THE PIANO
Glue the speaker to your piano using your design sketch as a guide. Here the speaker is attached to pin 5 on the LilyPad.
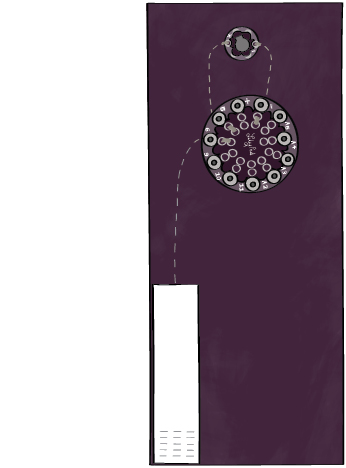
Sketch the speaker connections on your fabric with chalk or pencil.
Begin sewing by tying a knot on the back of the fabric and looping through the (+) tab of the speaker. Then stitch from the (+) tab of the speaker to the appropriate tab on the Protoboard—tab 5 here. Once you’ve securely sewn the thread, tie another knot on the back of your fabric.
Next, sew the speaker’s (-) tab. Begin by tying a knot on the back of the fabric near the speaker’s (-) tab and stitching the (-) tab to the fabric. Sew from the speaker’s (-) tab to the (-) tab on the Protoboard. After securely connecting to the (-) tab holes, tie another knot and cut your thread. Trim all of your knots and seal them with dabs of glue.