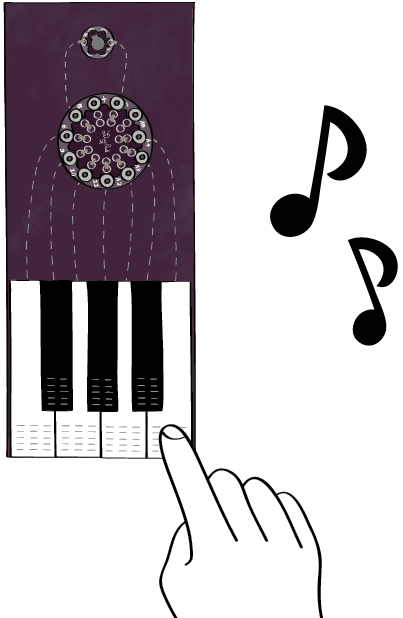
MAKE BEAUTIFUL MUSIC
The LilyPad speaker is fun, but frankly it’s pretty limited. It’s not very loud, it can only play one note at a time, and it can only produce simple beeping sounds. What if you wanted to play loud beautiful sounds using high-quality speakers? What if you wanted to play chords? What if you wanted your piano to actually sound like a piano? Well, one good way to expand the musical range of your piano is to use it as a controller for a computer and use the computer to generate sounds. That’s what you’ll do in this final section.
PLAYING MUSIC ON YOUR COMPUTER
Before you begin this section, make sure you’ve gone through all of the previous sections of this chapter. The computer controlled piano will only work if your printouts are properly formatted.
Download the Piano application for your Mac or PC here. Follow the installation instructions on the web page to get the application installed and running. Note: The Piano application may not run on all computers.
See http://www.sewelectric.org/PianoApplication for more information
Once you have installed the application, a window asking you to choose a serial port should pop up. Choose the correct serial port from the list. This should be the same serial port you selected in the Arduino software.
Try playing your piano now. You should hear piano tones coming from your computer and see waves on the application window like the image shown below. These waves are showing you the frequency of the notes you’re playing on your piano.
Note: If you are unable to download, install, or run the application, see http://www.sewelectric.org/PianoApplication for troubleshooting information.
The application that’s running on the computer is doing pretty much the same thing that the checkPianoKey procedure you wrote was doing. It is using the information about whether or not a particular key is pressed to determine whether it should make a particular sound. More specifically, it is looking at the stream of sensor data you are sending to the computer with your Serial.print and Serial.println statements and using it to detect when a key is pressed. If a key is pressed, the application generates a piano note. Like the program you wrote, it generates different notes for each key. If you are interested in seeing the code for this program, you can download it here: http://www.sewelectric.org/PianoApplicationCode.
You’ve probably noticed that there’s something annoying about the current setup: Both your fabric piano and the computer are making sounds. You’ll want to create a new version of your LilyPad Arduino program where the LilyPad speaker stays quiet so that you can clearly hear the sounds being made by the computer.
Open up your Piano program in the Arduino software. Go to the File menu and select “Save As…”. Choose a new name for the code that will work with the computer application, something like “pianoForComputer”.
Look at your checkPianoKey procedure to find what you need to change to get rid of the sounds being made by the LilyPad speaker. The lines that check whether keys are being pressed and generate sounds are highlighted below.
void checkPianoKey(int key, int note) {
    touchValue = readCapacitivePin(key); // read touch sensor value
    Serial.print(touchValue);            // send value to the computer
    Serial.print("\t");                  // send a tab
    if (touchValue > 1)                  // if the key is pressed
    {
        tone(speaker, note);             // play a note
        delay(100);                      // wait for 1/10th of a second
    }
    else                                 // if the key is not pressed
    {
        noTone(speaker);                 // stop playing the note
    }
}
Since this work is now being done by the computer, you can delete this entire section of the checkPianoKey procedure, making it much simpler, like the version shown here:
void checkPianoKey(int key, int note) {
    sensorValue = readCapacitivePin(key); // read touch sensor value
    Serial.print(sensorValue);            // send value to the computer
    Serial.print("\t");                   // send a tab
}
All the procedure needs to do now is to read sensor information from the piano key and send the reading to the computer. The computer does everything else.
Upload this new code to your computer and play with your piano. It should sound much nicer. Save the changes you’ve made to this “pianoForApplication” version of the code.
If you want to unplug your piano from the computer and have it make sounds with the speaker, upload your original “Piano” program to the LilyPad.
You can find the original program in your Arduino Sketchbook. Click on the upward pointing arrow, and choose “Piano” (or the name that you gave your original program). Then upload this program to your LilyPad.
Note: If you have trouble downloading, installing, or using the Piano application, see http://www.sewelectric.org/PianoApplication for troubleshooting information.
Play!
Now you’ve got a nice sounding instrument that you made! Compose a short song and play it for your friends and family. Let them play your piano. Start a band!

Wash
If your piano gets dirty, you can hand wash it in cold water. Remember to take the LilyPad SimpleSnap off first otherwise you can damage the battery and the LilyPad.
Recharge
If your piano stops playing when its not attached to the computer, its battery has probably died. Attach your LilyPad to your computer to recharge.